The art of repairing clothes may have declined with the rise of fast fashion, but here at The Woolmark Company we believe you should love your clothes for a lifetime.
Not only will repairing your clothes allow you to get more use out of your favourite wool socks and sweaters, it also means less waste in landfill. Follow these simple steps to repair your wool garments.
Choose a topic below to read a how-to guide.

How to darn wool socks
We all have a favourite pair of wool socks and nothing beats the comfort, durability, odour resistance and wicking ability of 100% wool socks. But when you wear your favourite wool socks day-in day-out, they will inevitably need repair. Darning is an easy sewing technique to keep the heels and toes of your socks, and in fact any knitwear garment, in tiptop condition. For this mending task, you will need a needle and thread, a tennis ball or darning egg, and scissors.

Step 1 – Place your sock inside-out over a tennis ball or darning egg (you can also just stick your hand inside the sock if you prefer) and cut off any loose threads.
Step 2 – Thread your needle and sew a running stitch along the edges of the hole, sewing back and forth.
Step 3 – Once you get to the top of the hole, gradually move your stitches closer together and then gently pull the thread to close up the hole.
Step 4 – Create a knot and cut the loose thread. There you go, your sock is as good as new.
NOTE: the same method of darning can be used for wool knitwear such as sweaters.

How to patch holes and rips
Ripped jeans are sometimes in fashion and sometimes not, but if you prefer your pants without tears at the knees or if you have a hole in your favourite wool shirt, here’s an easy step-by-step guide to repairing rips and holes in woven fabrics. You’ll need a needle, thread and a swatch of spare fabric.
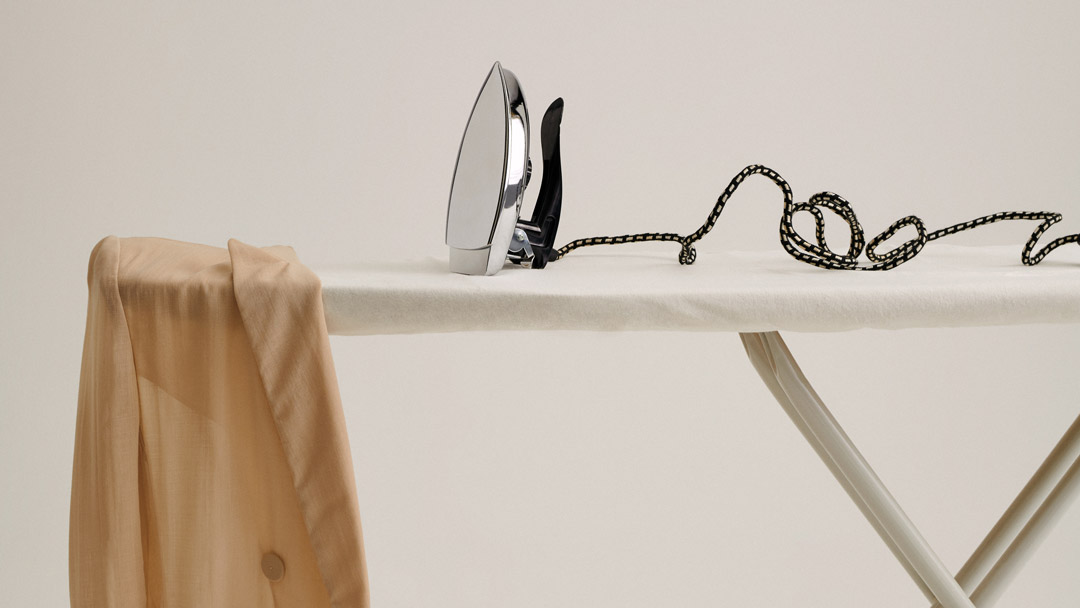
Step 1 – With small scissors, cut the hole into a clean square or rectangle. This will make the repair neater and easier. Trim any loose threads.
Step 2 – Turn the garment inside out and pin the swatch of spare fabric to the inside of the rip and in line with the grain of the fabric. The swatch should be larger than the rip by at least one centimetre.
Step 3 – Using the needle and thread create an overhand stitch around the edge of the rip. Make several short backstitches at each corner to further secure the patch to the fabric. Alternatively, using a sewing machine stitch over the edges of the patch of fabric in a zigzag fashion and overlap previous stitches to increase the strength of the stitching.
Step 4 – Trim any loose threads and there you go, your woven garment is as good as new.

How to repair seams
If the seam of your wool clothing loosens or breaks, don’t fear, repairing the seam of your favourite sweater is easier than you think. For this mending task, you will need a needle and thread, an iron and scissors.
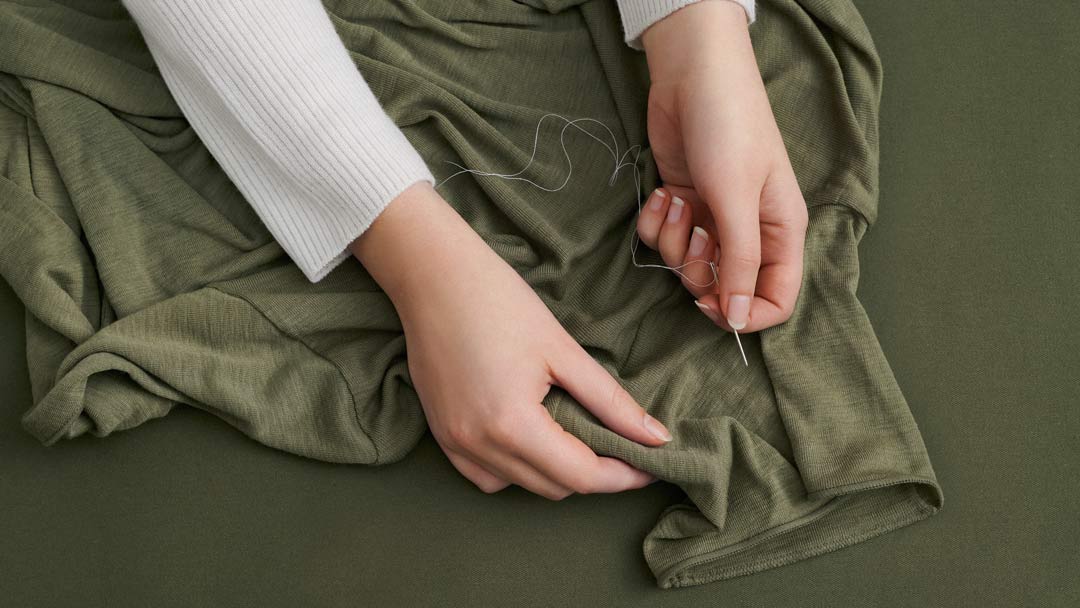
Step 1 – Turn the garment inside out and tie off the loose machine-stitched threads around the seam. Make a short backstitch about one centimetre before the rip and take the stitch through both layers of fabric.
Step 2 – Close the rip with the backstitch: With the right (front) sides of the fabric together, bring the needle through the two layers of fabric. Insert the needle back down through the fabric to the right and bring it back up to the left of where you started (so each stitch will overlap the last). Repeat.
Step 3 – Depending on the garment's original seam finish, you can open the seam and press it flat, or finish the seam with an overcast stitch. From underneath, pull needle and thread through both pieces of fabric; then come up and over the seam allowance, on a slight diagonal, and reinsert the needle and thread, being careful not to pull the thread too taut. Repeat until the area being repaired is covered. Secure stitches with a short backstitch. Press the seam with the iron.
Step 4 – Trim any loose threads and there you go, your seam is as good as new.

How to fix a dropped hem
We all know the sinking feeling of when we pull a hem and seemingly ruin a pair of pants or a dress. But repairing a hem is actually very simple; follow this step-by-step guide to quickly re-hem your garment. For this mending task, you will need a needle and thread, an iron and scissors.
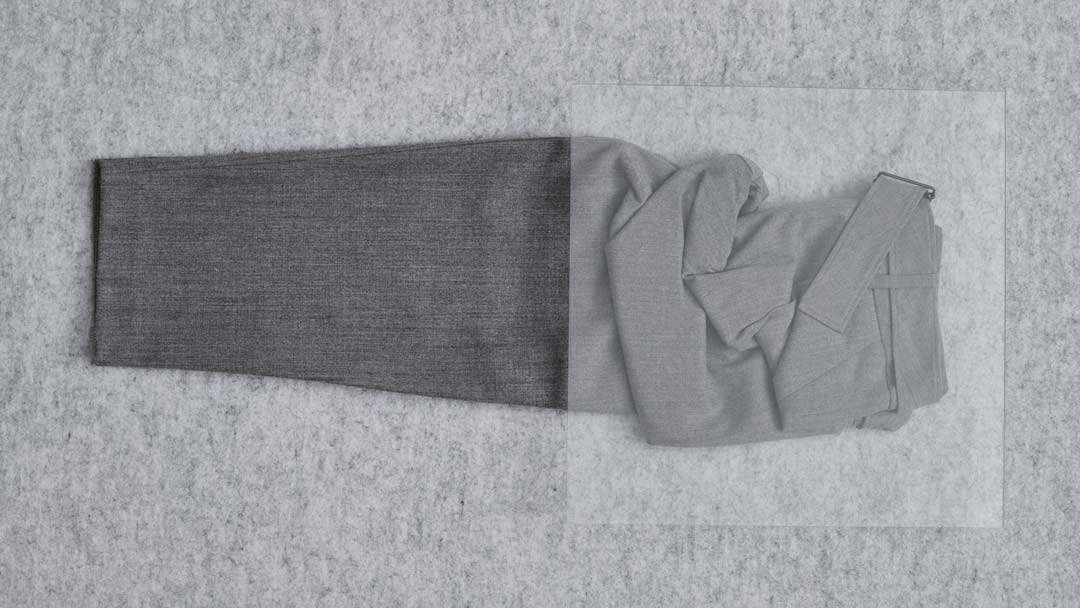
Step 1 – Turn the hem inside out and press flat with the iron. Start your stitches at least two centimetres from the rip. Create a knot or use a short backstitch to secure the thread.
Step 2 – Just above the hem, insert the needle through the fabric from right to left. Make the smallest possible stitch; it will show on the right side of the fabric. Bring the thread down and to the right of the diagonal, and make a stitch in the hem, piercing only the top layer of fabric, again pushing the needle from right to left. Draw the thread up and take another stitch above the hem, about one centimetre to the right of the previous stitch. Repeat.
Step 3 – Continue stitching up and down the hemline until the rip is closed. As you sew, keep the tension of the thread slightly loose; pulling it too tight could break it or pucker the fabric. Secure your work with a short backstitch.
Step 4 – Trim any loose threads and there you go, your hem is as good as new.

How to sew buttons back on
Sewing buttons is very easy once you get the hang of it and depending on whether the button has two holes or four, the technique will differ. To help you button up, here’s a step-by-step guide to sewing buttons back on. For this mending task, you will need a needle and thread, buttons and scissors.
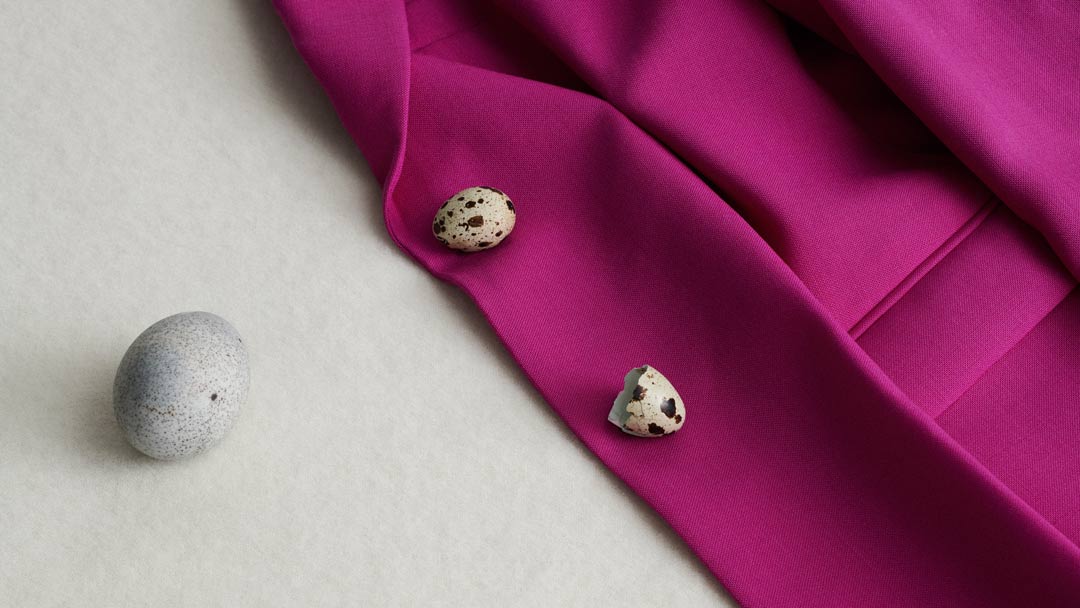
Two-hole button
Step 1 – Select a suitable button and thread that matches the garment. Thread the needle and create a knot at the end of the thread. You can double thread the needle to make this job quicker.
Step 2 – Position the button in the desired placement and then thread the needle up through the fabric and through the button hole, pulling the thread all the way through. Then, push the needle down through the next hole and through the fabric and pull the thread all the way through. It's best to hold the button in place so it does not move. Repeat the sewing process enough times to make sure the button is securely in place.
Step 3 – On the last stitch, push the needle through the material, but not through a hole in the button. Wrap the thread six times around the thread between the button and the material to reinforce the shank you have created. Push the needle back down through the material and make three or four stitches below the button and cut the thread.
Step 4 – Trim the thread and there you go, you can now button your suit back up.
Four-hole button
Step 1 – Select a suitable button and thread that matches the garment. Thread the needle and create a knot at the end of the thread. You can double thread the needle to make this job quicker.
Step 2 – Position the button in the desired placement and then thread the needle up through the fabric and through one button hole, pulling the thread all the way through. Push the needle down through the opposite hole and through the fabric. Pull the thread all the way through. Repeat through these holes twice, then switch to the other holes. Switch between opposing pairs until the button is strongly attached.
Step 3 – On the last stitch, push the needle through the material, but not through a hole in the button. Wrap the thread six times around the thread between the button and the material to reinforce the shank you have created. Push the needle back down through the material and make three or four stitches below the button and cut the thread.
Step 4 – Trim the thread and there you go, you can now button your suit back up.